
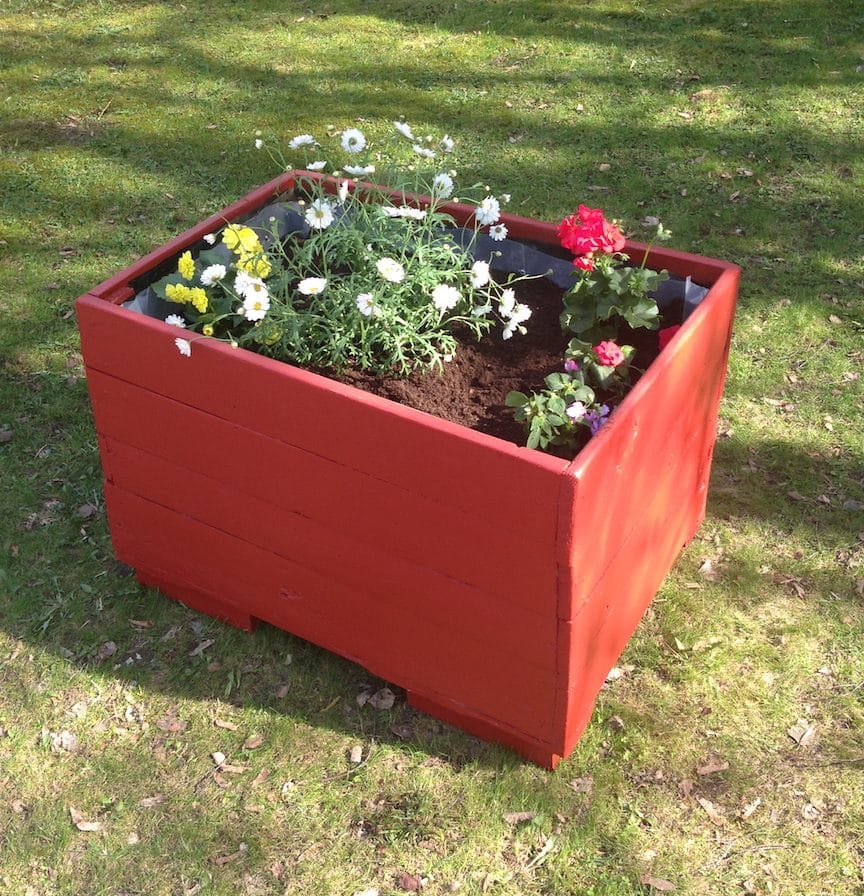
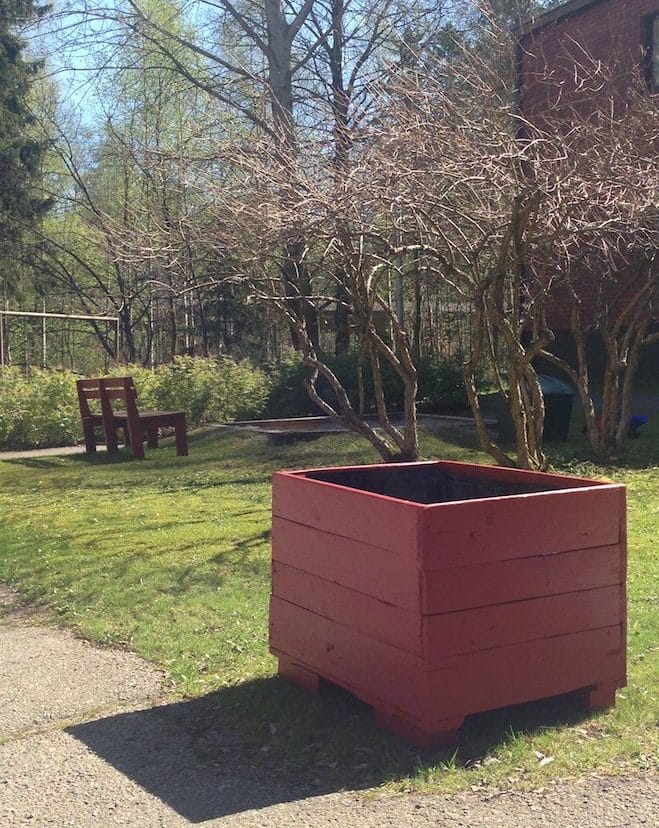
Here’s a DIY planter box (with some character) made from an old wooden pallet! Here’s some inspiration for your own project.
To complete this project, I basically needed:
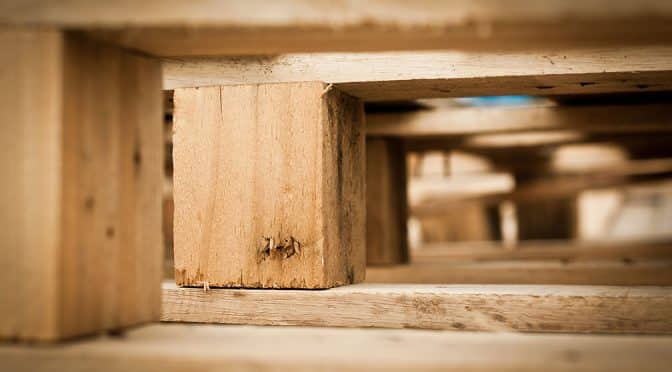
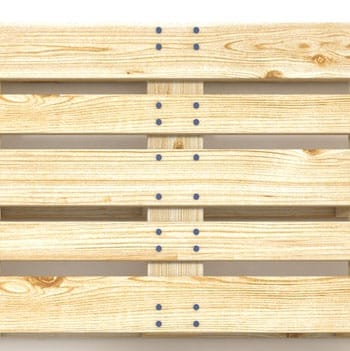
- Pallet(s) – I literally got one of these of a nearby footpath, you might need two depending on the size. I used two small pallets to make this big box but you could easily make a small planter box from one pallet.
- Saw or eletric jigsaw – handsaw is more than fine, a eletric jigsaw obviously quicker
- Sand paper or electric sander – we’ll use this to give a better finish and smooth off the edges and surfaces of the box
- Measuring tape – you’ll need this for some planning
- Strong nails – for holding it all together
- A bunch of sunny days – because it’s nice to get outside, but useful for paint drying off.
- Outdoor paint – I used red for the outside of the box and black for the inside.
- Hammer and crowbar – for hammering of course and removing the old nails from the pallet.
- Compost – for the plants, I used half from a composter I have in the garden and half is purchased
- Stones – to lay at the bottom of the box to enable better drainage and space out the bottom of the box
- Plastic lining – I used some basic sheeting and cut to size.
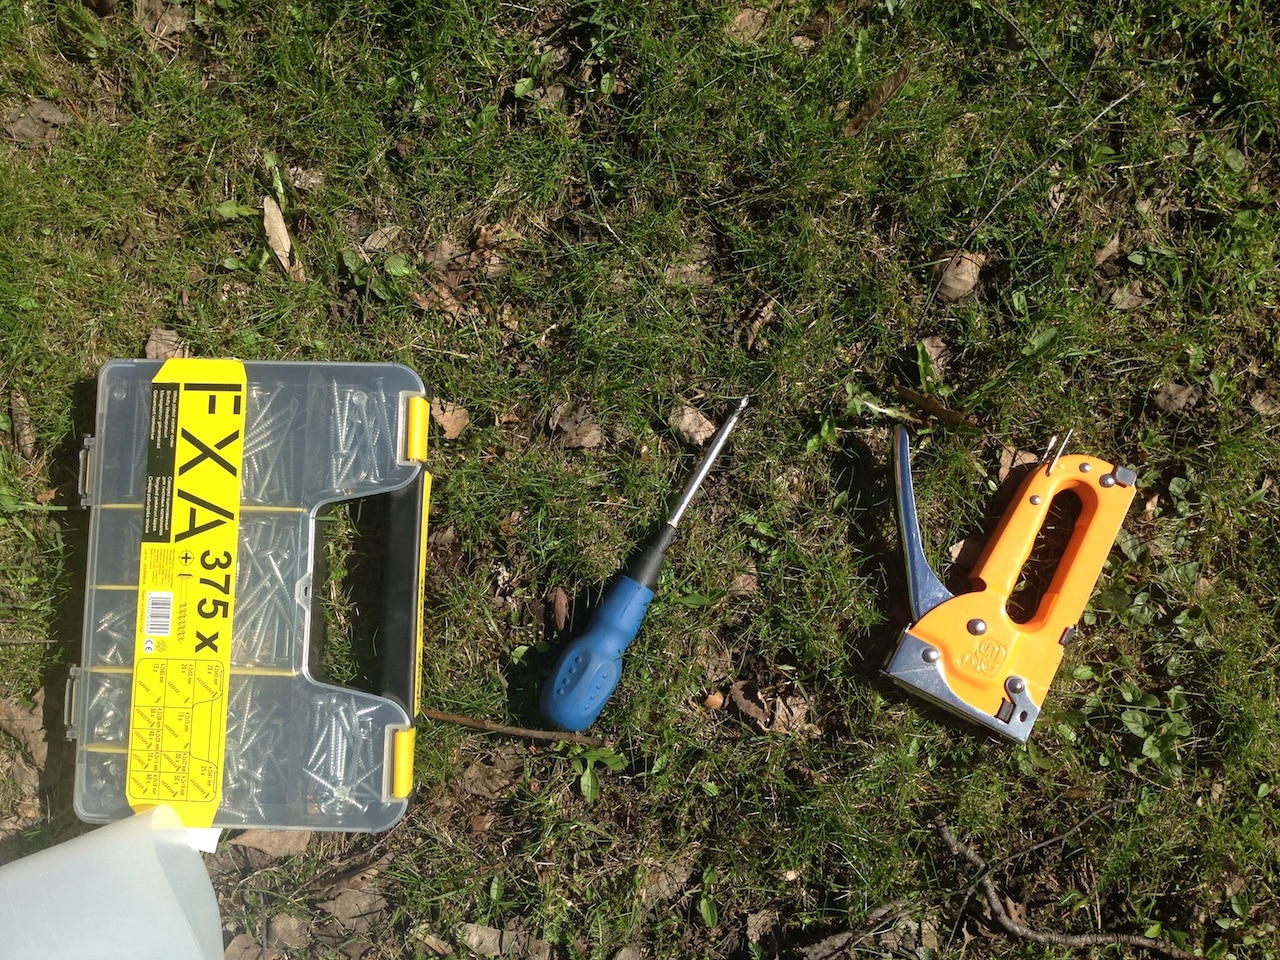
- Stapler – for keeping the plastic sheet in place in the box
- Stanley knife – for cutting the sheet
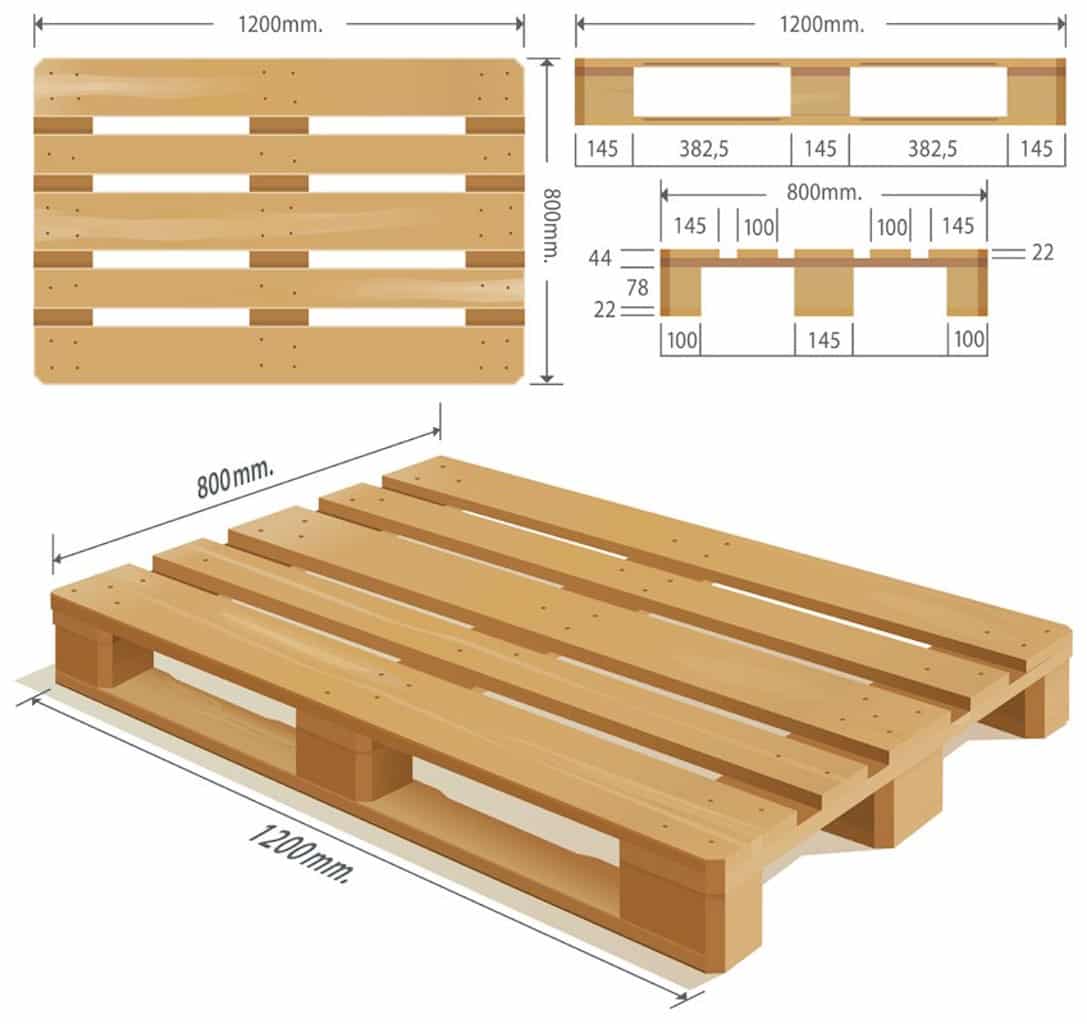
Planning the size of the box
The size of the box is basically limited to the size of the wooden panels you will salvage from the pallet. So basically, if you manage to get a really long pallet, you’ll be able to create more planks for your box. I kept things relatively simple and that was to have a box made up longer sides and then shorter sides.
The shorter sides would be roughly half the size of the longer sides. That made it quite easy for me to work out how many planks I needed to build up the side of the boxes.
The best thing to do at this point, is find yourself a pallet and start breaking it down then review what wood is available for use. There will almost be some panels that come away badly from the pallet and will split or breakup, which can render them unusable. So, remove the nails and panels from the skip carefully as possibly but don’t worry, you can always get yourself another pallet.
Find and then break up the pallet
Once you’ve got yourself a pallet, start using a the crowbar and hammer to pull apart the panels. To speeden up the process, what I did was to cut away the edges in a straight line fashion like this:
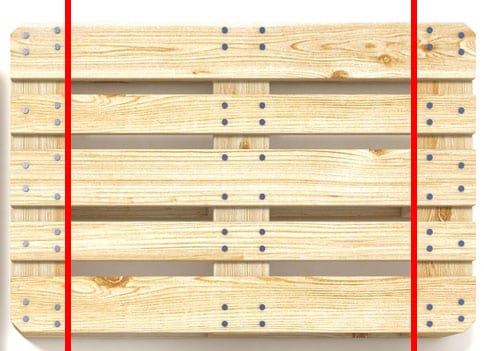
Use a marker pen, you could even measure up the length you need and cut to length now but don’t worry if you don’t know what the lengths are going to be, you can always shorten them later on in the project.
That left panels held together with the blocks in the middle. Removing the edges, has made it easier to remove the nails and middle blocks.
Remove the panels from the centre holding plank and blocks.
Attempt to fit the crowbar down the sizes of the panel and leverage the panels from the center. Another technique is to hammer the crowbar into the panels to get behind the nail, the pry out the nail.
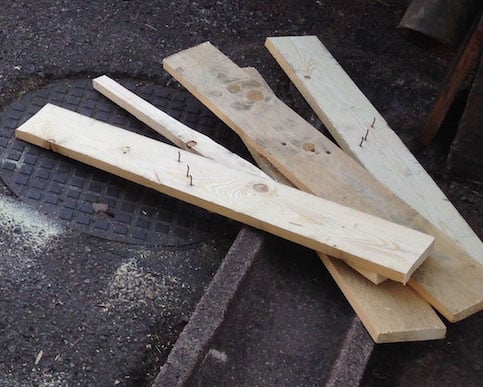
Once this is done, you should be left with nice panels. This isn’t easy work, so don’t be afraid to give it some might! If you have some panels with some dirty sides, face them inwards, leaving the better side facing outwards.
Remember to hammer out the nails from the blanks!
When you’ve finished salvaging planks from the pallet, you should have some nice planks ready for your DIY planter box.
Don’t worry about any marks or roughness, we’ll sand those out later and a good paint will hide any stains in the wood.
Do some planning and cut the planks to length.
Unfortunately, I didn’t take nearly as many pictures as I should have done, apologies for that but basically here’s what we are trying to achieve at this point:
I’ll list the steps for constructing the foundations of the box.
Create the foundations of the box. Red are the long sides with blue shorter planks laid upon them. Then nail them to each other.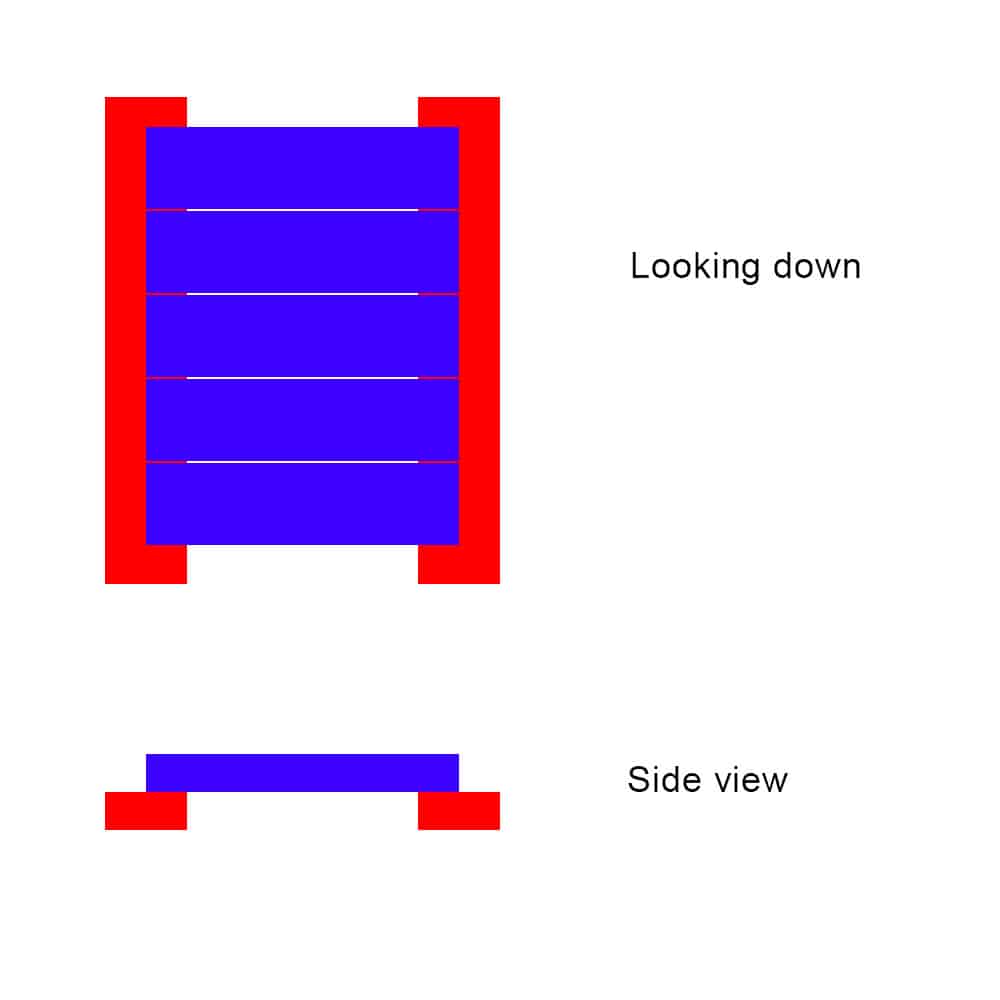
Now, we’ll add some side panels.
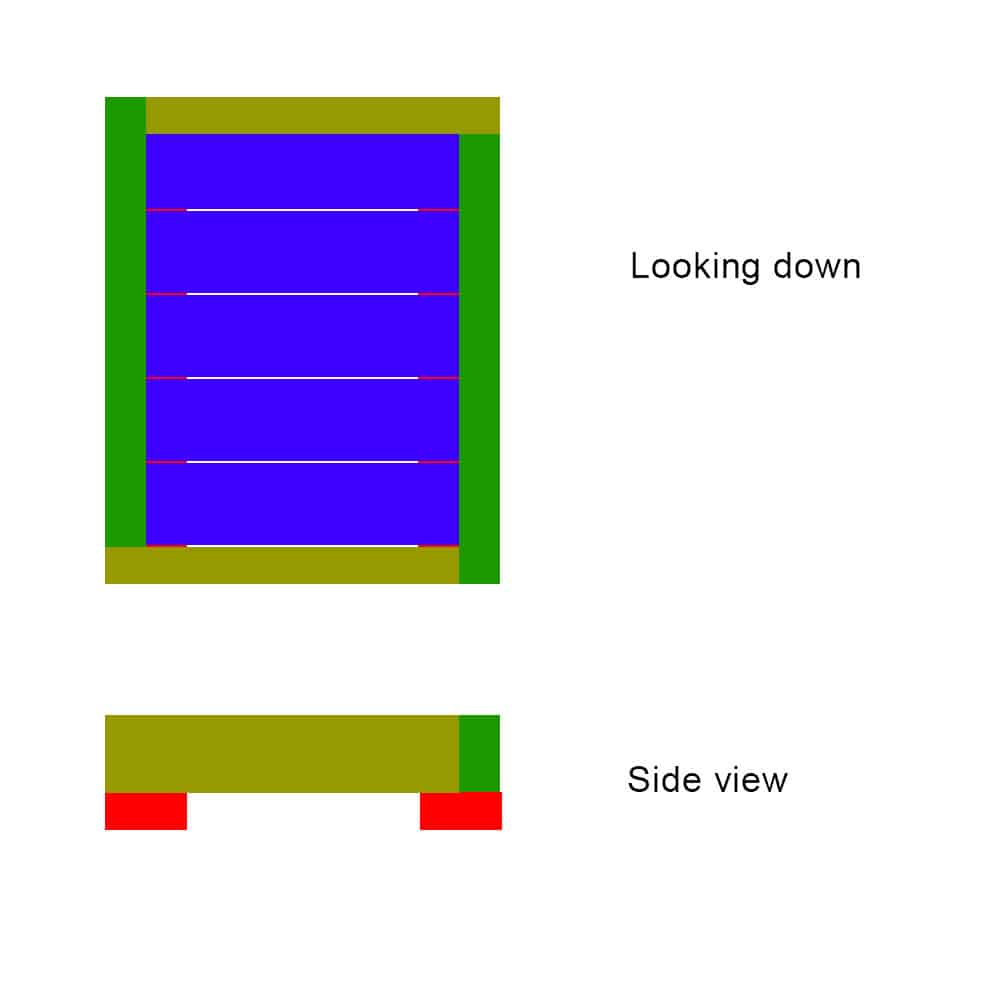
The yellow panels are upright and form the foundation of the walls. Again, nail everything together.
Keep building up the walls in the same fashion until you get to the height you want.
If you find yourself getting some planks a bit longer than needed, cut off the edges with the handsaw or jigsaw.
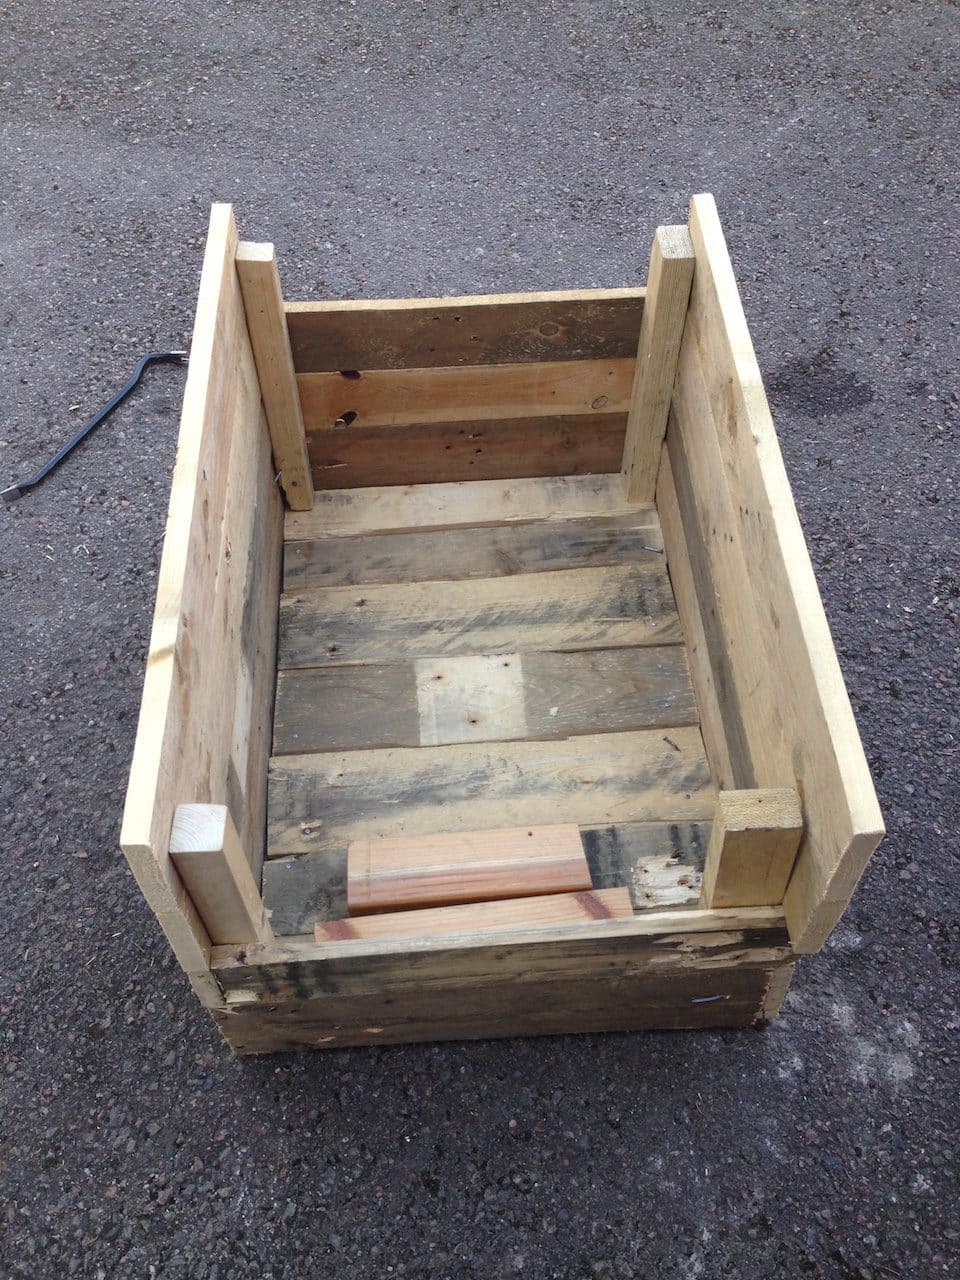
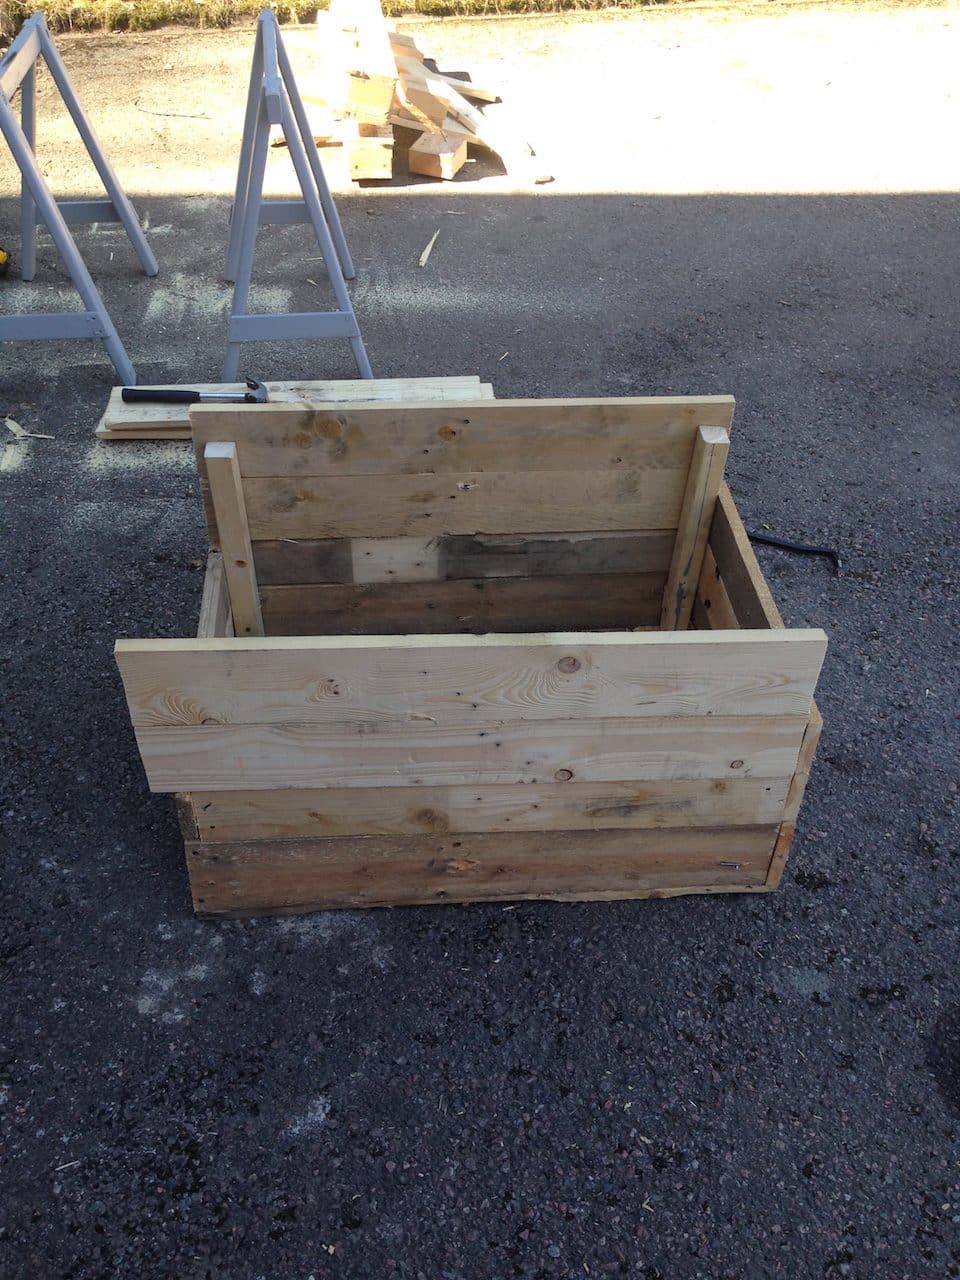
I built up the sides of box with planks of wood as far as to hiding the inside four corner supporting posts. Remember to nail some corner posts!
Nailing the box side panels
I used four nails for each plank. That’s two at each end nailing the plank to the supporting corner posts. Basically, nail where you think the support is needed, and use nails to nail planks to planks around the corners.
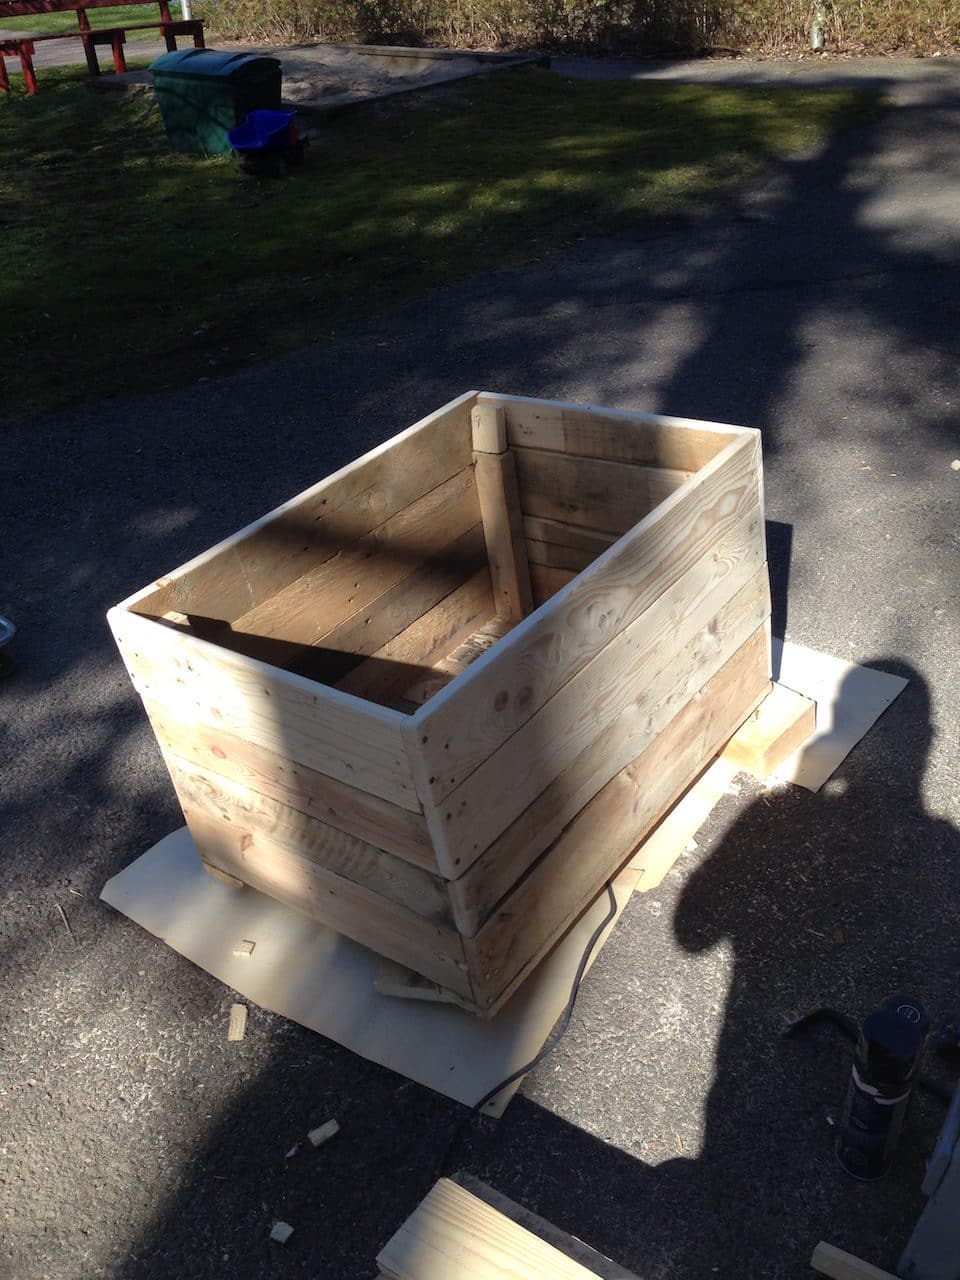
Hopefully, your box will start to look a little something like this.
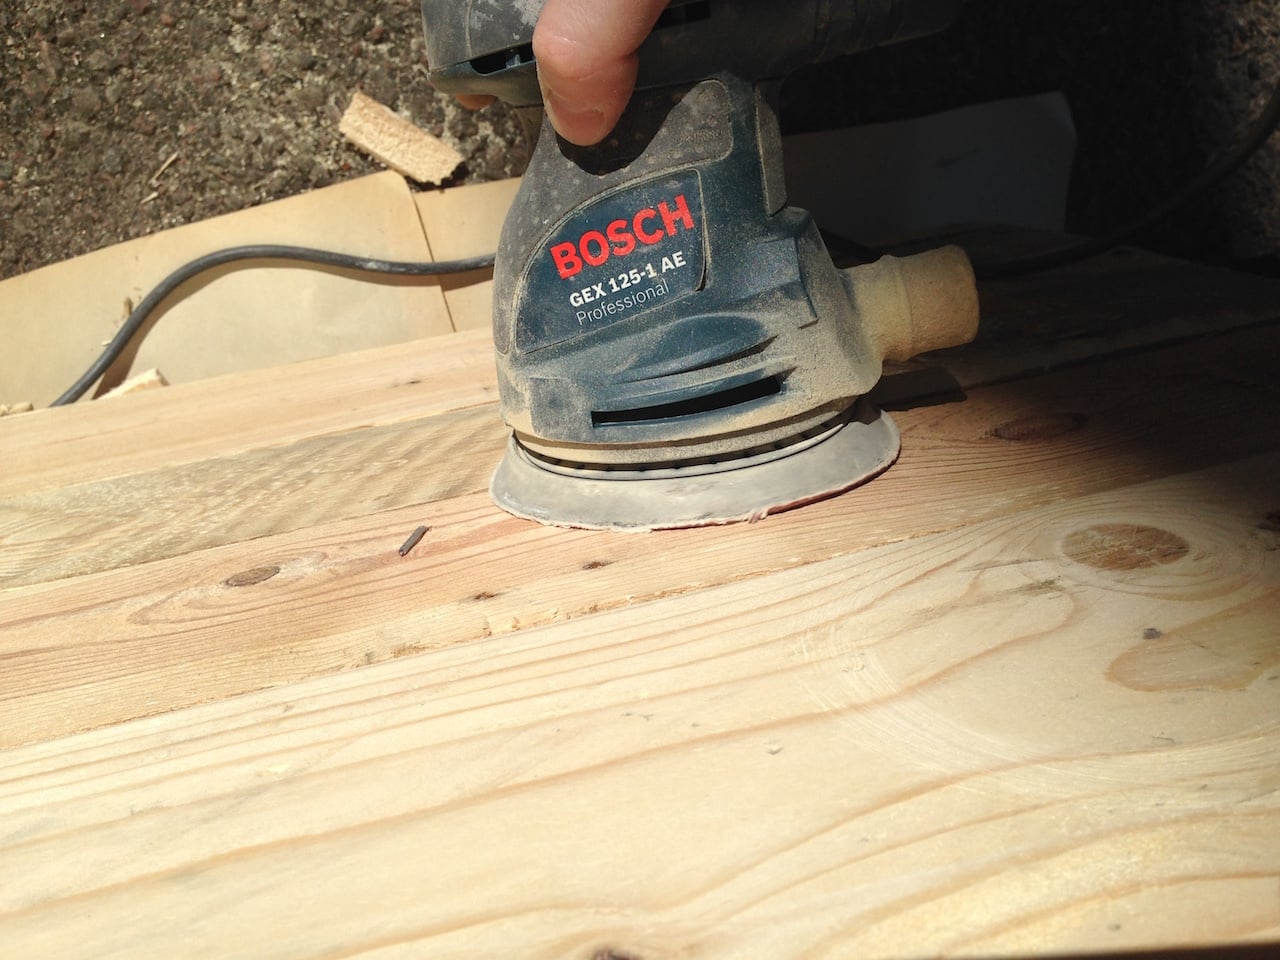
Sanding and preparing the planter box for painting
To smooth things over a little, use some course 60grit sanding paper and block OR an orbital sander. Go over all of the box surfaces and round off the top and corners of the box a little to your taste, this will give a nicer finish.
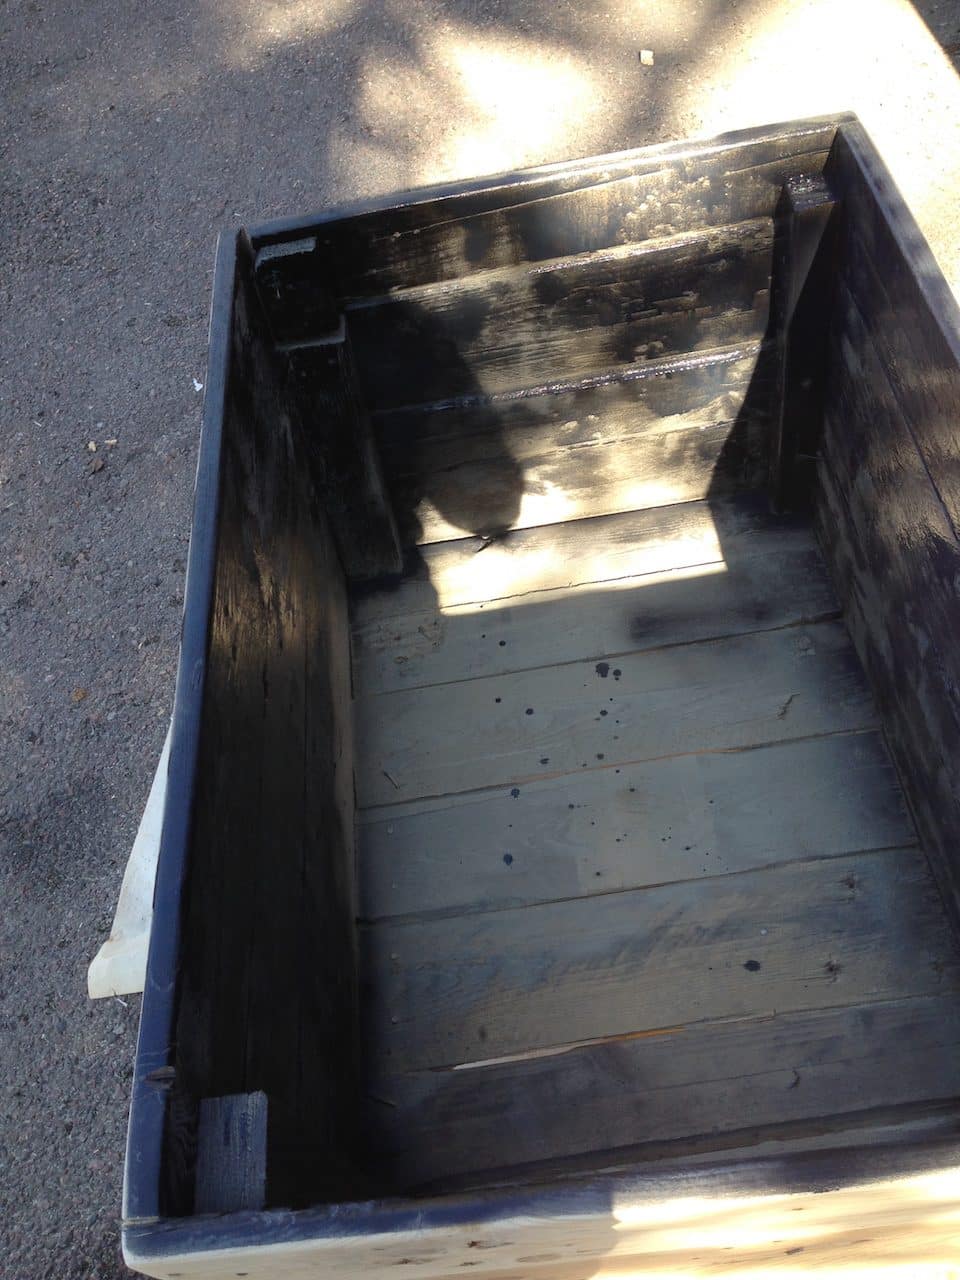
Paint the inside of the planter box
You don’t have to do this but I thought it was best to protect the wood as much as possible from the elements, it might add some more life to the box after all. I used some spare black paint in the workshop.
Adding feet to the planter box
You can pretty much use anything for the feet, but I took an old wooden pole and divided it into four equal lengths and then screwed them to the bottom of the box in equal distances apart.
The next picture shows the feet attached to the bottom of the box.
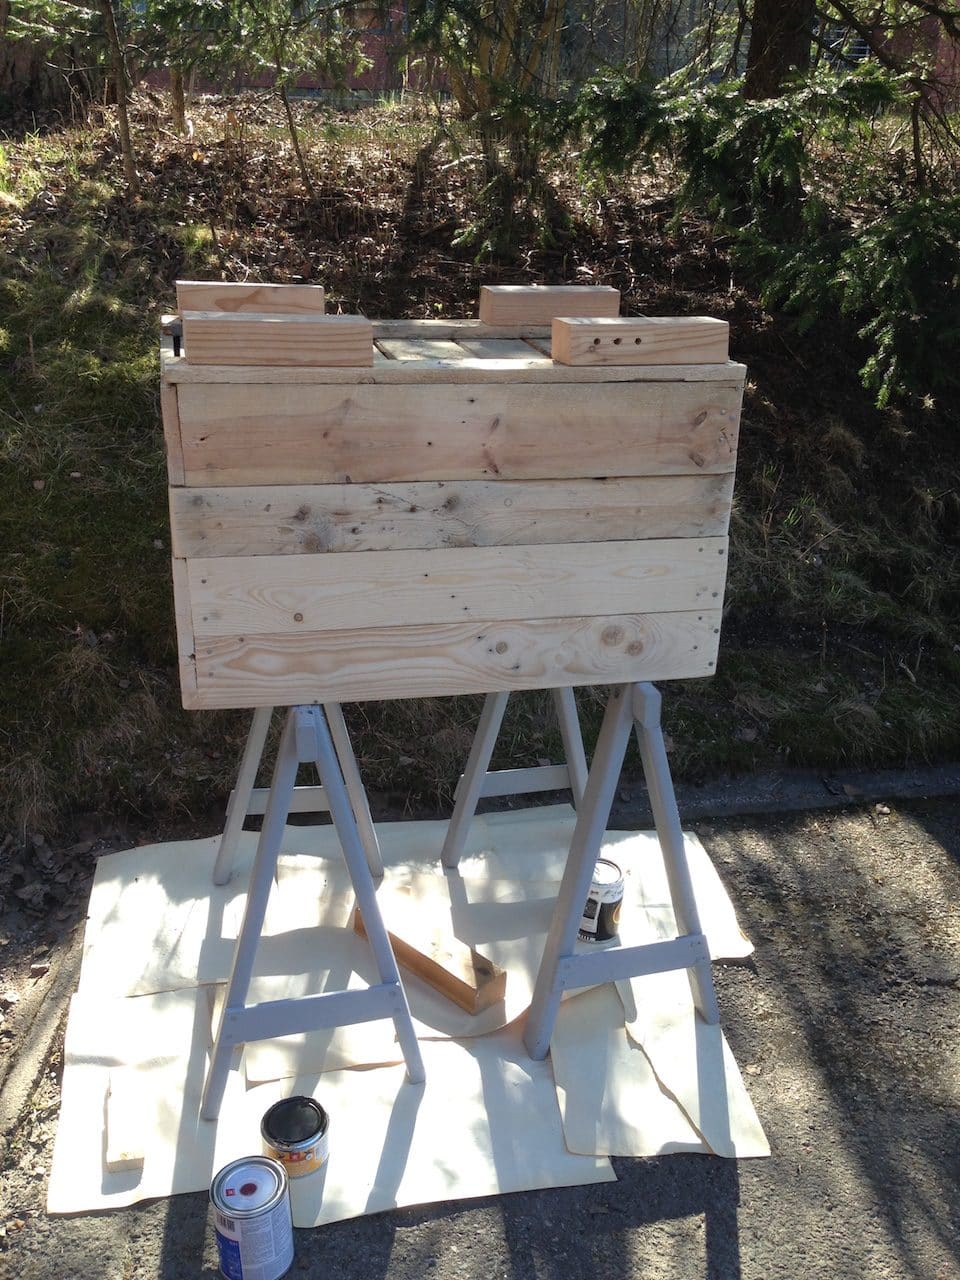
The box is ready for painting
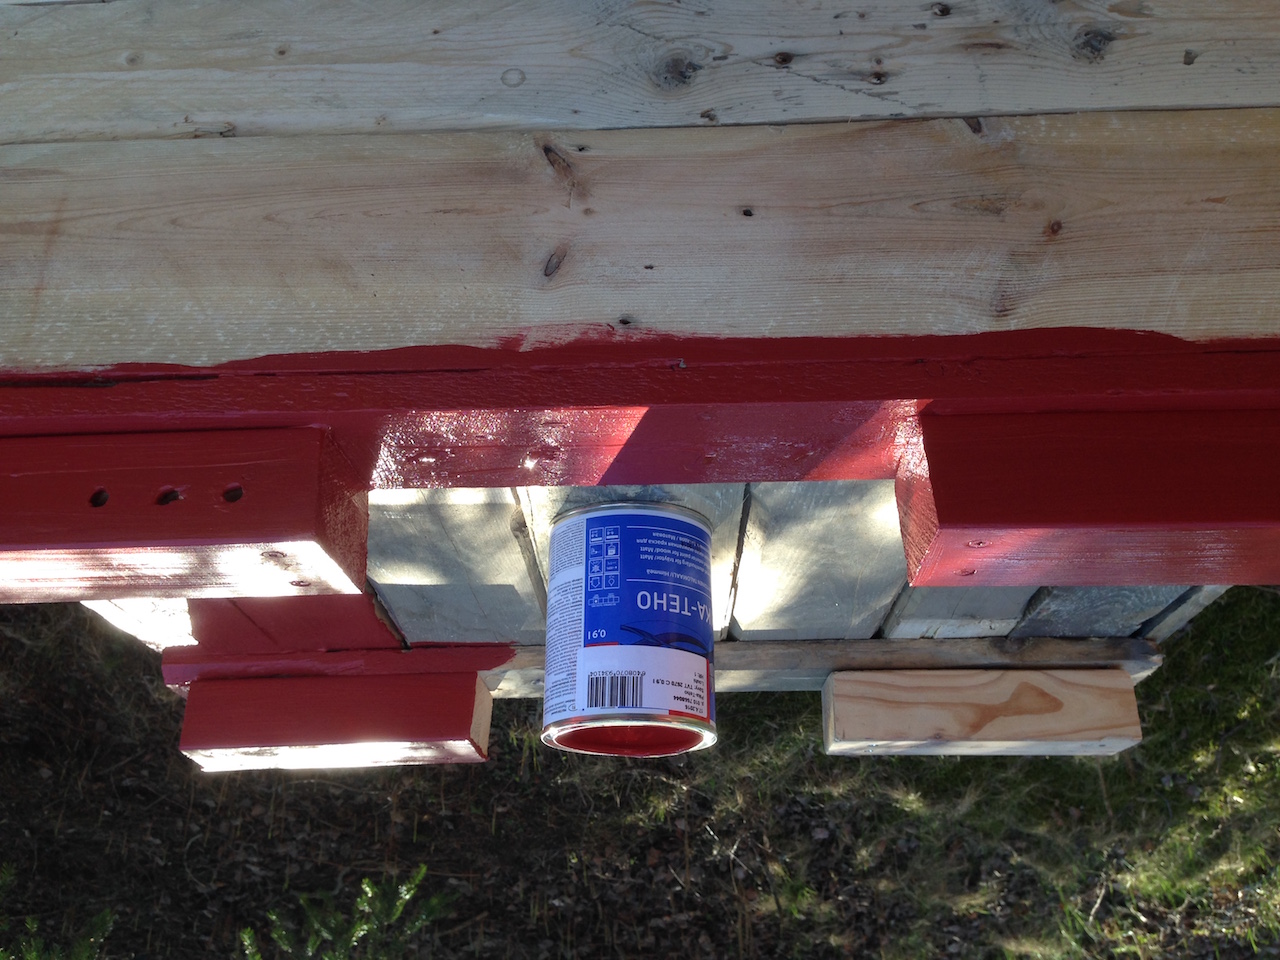
Choose any colour you like but make sure it is suitable for protecting wood and you’ll get plenty of life from the box. I chose a traditional red colour for the box and got my local DIY store to mix the paint for me. This didn’t cost much and is so far the only new material I have purchased for the project. Everything else including the screws and nails have been recycled.
Start to paint the wood, you’ll need at least a 2-3 coats of paint and you can leave about 15-20 minutes on a sunny warm day between each coat.
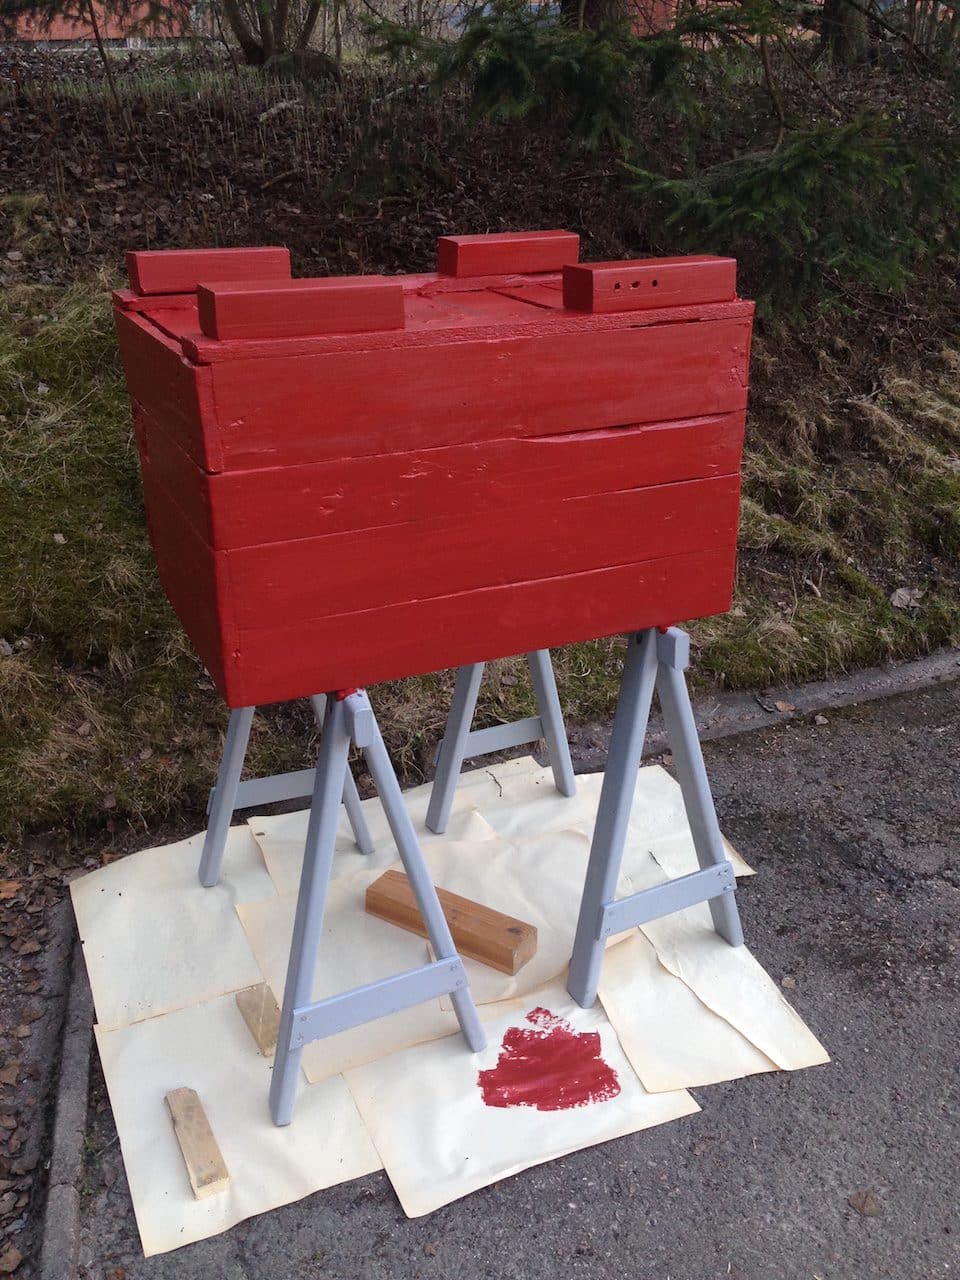
When finished painting, leave it to try for a day. You might then need to do some touching up or paint the edges of the top of the box to leave a nice finish.
Move the box into position, because when you have filled it, it will be very difficult to move.
Now the box is pretty much ready but before that we should add some plastic lining. Use any strong plastic lining, I would not use plastic bags for example but something quite strong.
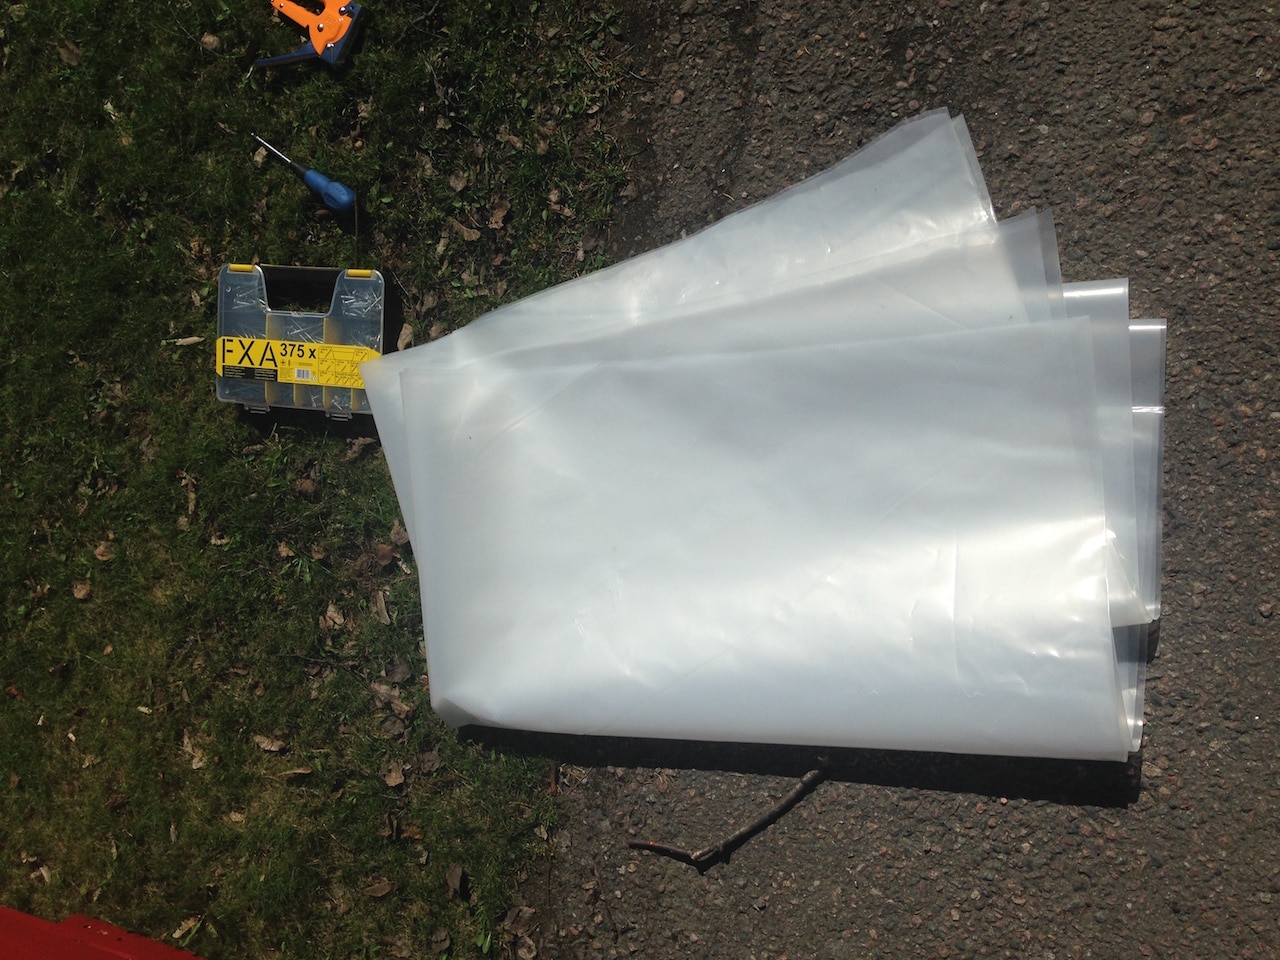
You should cut the plastic lining more than three times the length and width of the box. This is to ensure that when we stuff it into the box, it comes up to edges on all of the insides of the box. Like so …
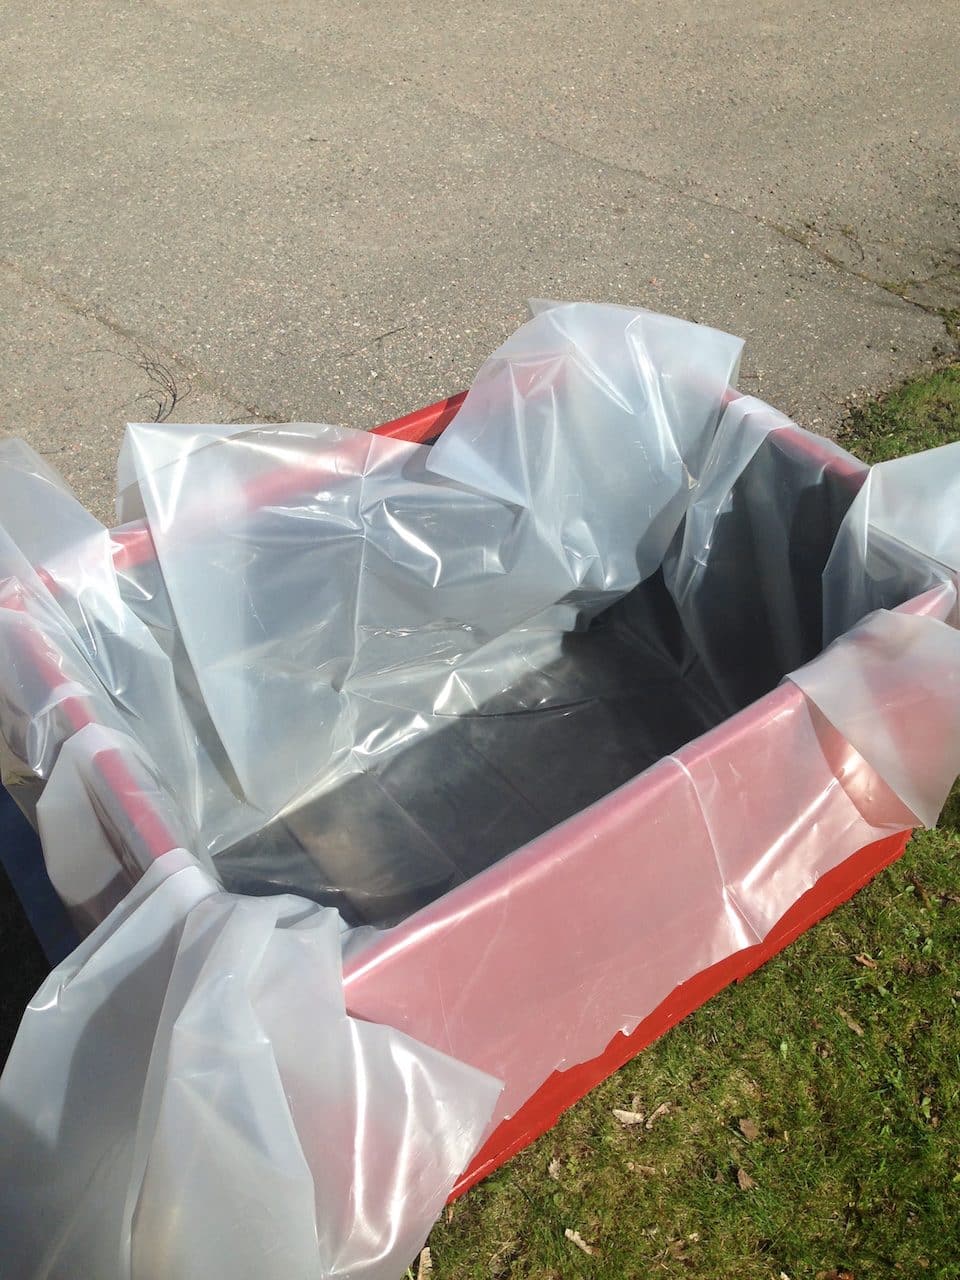
Start to fold and layout the lining so that it is need, this is little like wrapping a gift! You’ll need to overlap and fold over the plastic sheeting but bascially get it into position where you can start to cut off excess and staple it into position. Use some retaining screws if you need to hold things in place to make it progressively easier to neaten the lining.
When you have the lining neatly attached to the box, use a screwdriver to pierce holes evenly through the plastic lining at the base of the box to allow for the drainage of excess water.
Lay granite stones in the base of the box, enough to cover the surface one time.
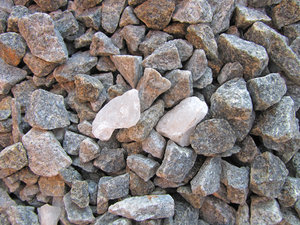
Bigger ones at the bottom and smaller on the top.
Then you can start to add the compost, I used a mix of compost from the composter and from bags that I purchased.
When you think you have enough compost, now for the fun part, add some flowers and water them in the evening.
And hopefully, you should have something like mine above…
So, there you are! I hope you found the post useful and inspirational for your own project – good luck!
Let me know how you get on with your project, post a quick comment below and a pic of your own planter box below!
Leave a Reply