Front disk brake conversion
This morning in the workshop, I decided to convert my bike from rim v-brakes to disk brakes, I wanted to practice because I’d to convert a few retro bikes later this year.
Anyway, here’s how I did it…
Front disk brake conversion prerequisites
A breakdown of the things I used to compete the conversion:
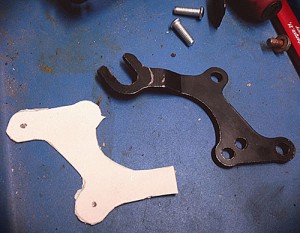
Disk Brake Adaptor
You can create your own from steel or source from eBay, I ordered 5 from eBay but I modified them.
Disk brake hub (or wheel)
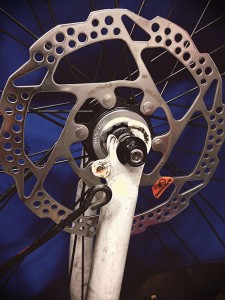
It was more time and cost effective for my local bike shop to provide me with a rim and hub and brake disk. I got a good deal on a Shimano centre lock system and rim.
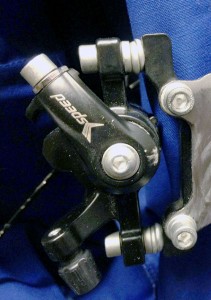
Disk brake calliper
Pick any of your choosing but I selected one with the most standard mounting system I could find only to make the installation as simple as possible.
Welder and Angle grinder
Welder is needed to attach your adaptor to the frame and the angle grinder is needed to make cuts to the adaptor and grind away and finish the surface from imperfections after welding.
So, how I converted to disk brakes
For this, I needed Welding equipment, angle grinder (cutting and surfacing) and allan/hex keys.
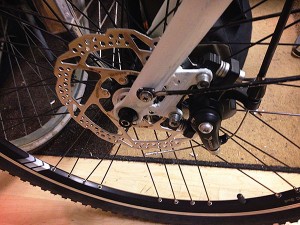
The first thing I did was to install the wheel onto the frame.
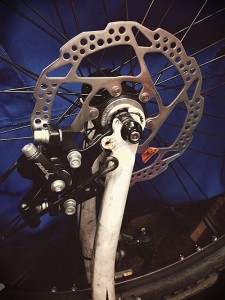
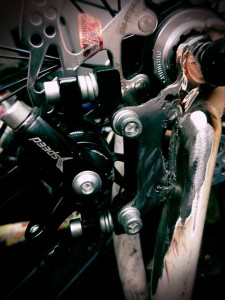
I remove the mud guard arm and spent some time how my disk brake adaptor could fit. I am sure there are some good engineering techniques that could have been used here but I simply took the brake calliper, attached the brake mounting adaptor and slid it onto the brake disk.
I then fiddled around until I could get a good fit without disturbing the motion of the wheel. Once I found a good position, I checked to see that the brake pads made good contact with the disk surface. Not forgetting that the pads would have good surface coverage when clamping the disk.
I had to make several adjustments to my disk brake mounting adaptor and decided to use cardboard to get the exact shape and size that I would be the best fit.
Welding
Now, I prepared the fork for welding, I removed the paint on the fork and adaptor with a wire wool brush on a drill. Hooked up the Welding machine with 0.8mm wire. Safety gloves on, mask and clothing on.
Welding was a little tricky, but I was able to hold the adaptor with one hand in the position, test the wheel motion – the wheel has to be moving without grinding or friction or at least you should be confident that you have enough play for adjustment after you have finished welding. The brake calliper had bolts with washers that would allow for angle adjustment.
I welded both sides of the fork and ensured the joints were strong enough. My welding skills are still relatively novice but I got a solid weld in the end.
Angle grind to remove excess weld spots and use a sanding disk to smooth the steel surface ready for paint.
Once the welding was finished and grinding completed, I gave some final testing and adjustment. Everything was good and started tightening things up to be sure no further adjustments were needed before road testing.
Once I was satisfied with the fit, I added some primer ready for some new paint… but that’s another day 🙂

Leave a Reply